How To Build a Perfect Home Dance Studio in 7 Easy Steps
Are you ready to practise your dance in your very own home dance studio, but don’t know how to get started?
I’m here to tell you that creating a home dance studio is quite simple.
The hardest part is just getting started.
In this blog post, I will show you how to create the perfect home dance studio in seven simple steps. Say goodbye to kitchen countertops and wobbly chairs.
WHAT IS THE PERFECT HOME DANCE STUDIO?
The perfect home dance studio is a space that is tailored to meet your specific dance needs.
This might involve a generous dance area with a full-length mirror, permanent barre, appropriate flooring, and sound system, or a cosy little space with some handy Pilates equipment.
Equipped with these essential elements and a touch of personality, your perfect space is what is ideal for you.
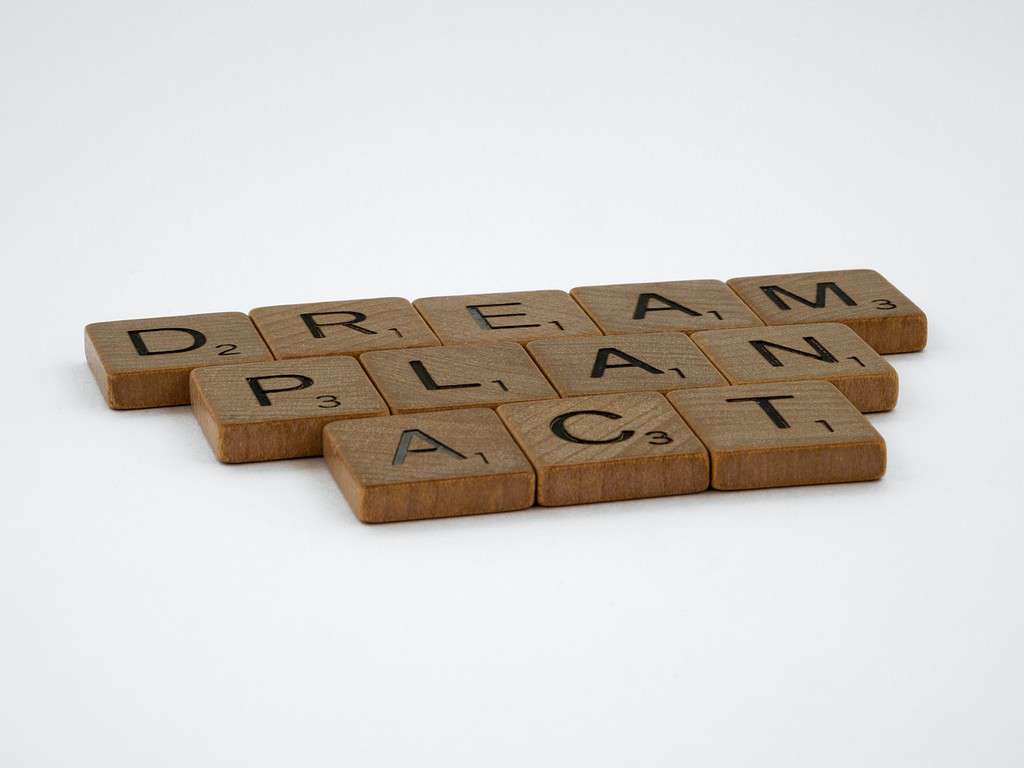
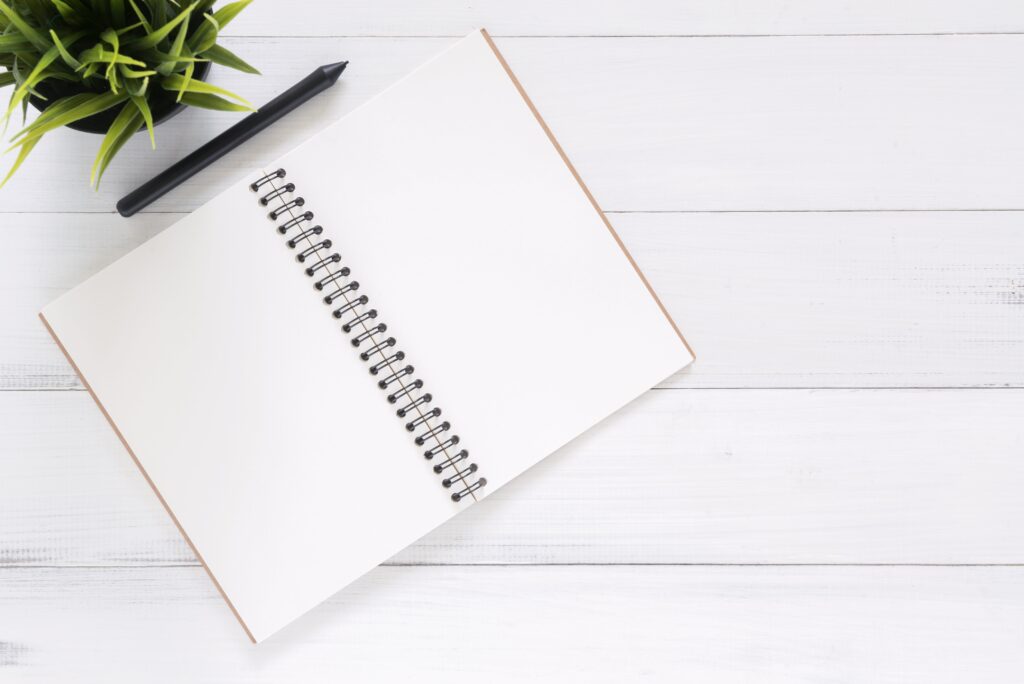
STEP 1 – CREATE A PLAN
Ever heard the saying “measure twice, cut once”?
Creating a plan for your home dance studio is an absolute MUST.
VISION, GOALS, AND NEEDS
Create a vision, set your goals, and write down your needs. It’s that easy!
Let’s break it down using an example.
Vision
My vision is to create a space where I can practice classwork and rehearse my variations.
Goals
My goals are:
Needs
My needs are:
STEP 2 – CHOOSE YOUR SPACE
Now that you have a plan, there are several factors to take into account before selecting your ideal space for your home dance studio.
SIZE
Finding the perfect space for your home dance studio will be influenced by your budget and the available space.
This could mean repurposing an unused bedroom, a study, a garage, or even the basement.
But before you start, speak with your parents if you share the space. You don’t want to be so lost in dance while your parents want to park their car.
A home studio doesn’t need to rival a stage in size but should provide enough space to comfortably practice your chosen dance style.
CEILING HEIGHT
Unfortunately, altering the ceiling height is not going to be a viable option for the majority of us.
So, choose a space that will give you the freedom to dance without the risk of bumping your head against the ceiling fan.
LIGHTING
Ideally, your home dance studio should have sufficient lighting (natural or artificial) for both visibility and safety.
If there’s a shortage of light, consider investing in a portable standing lamp.
TEMPERATURE
Regarding temperature, it’s important to ensure that your home dance studio provides the flexibility to maintain a comfortable environment throughout the year.
Consider a space that has natural ventilation or air conditioning.
Dance is sweaty enough, so you don’t need to be working in a sweatbox if you don’t need to.
Additionally, in colder temperatures, it’s desirable to have some form of heating to remain warm and avoid the common cold (dancing in Ugg Boots would be quite a feat).
PLAN YOUR DREAM LAYOUT
What layout are you aiming for in your home dance studio?
Make sure to plan your layout to align with your specific needs.
STEP 3 – CHOOSE YOUR FLOORING
Now, onto the next essential step, selecting your flooring.
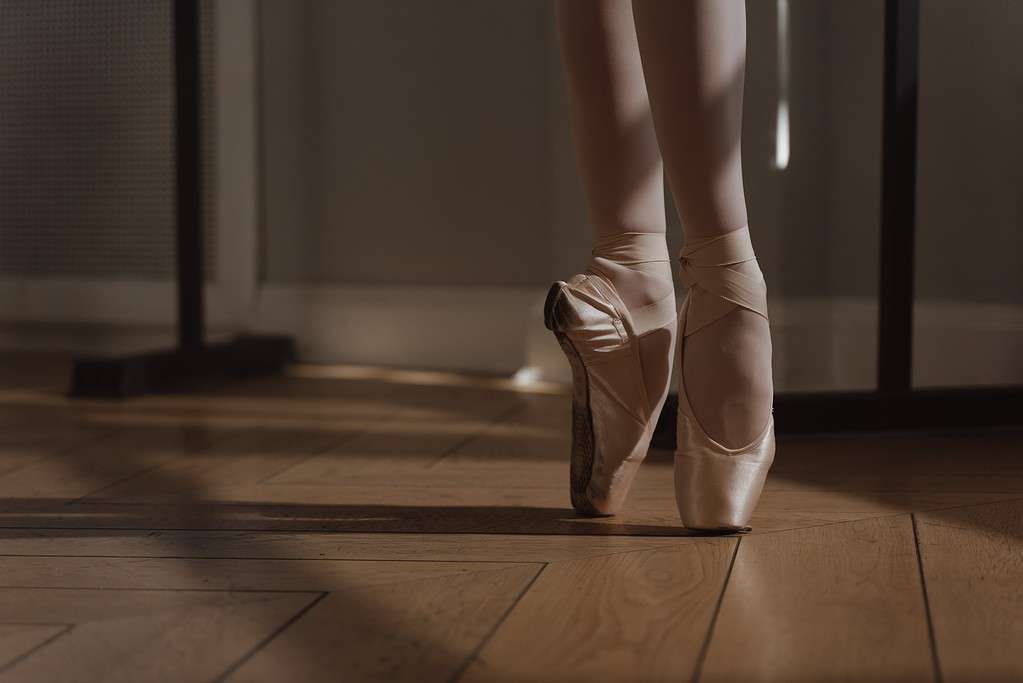
There are several types of dance flooring suitable for home dance studios, with their own benefits and price range.
Remember with flooring,
VINYL BASED FLOORING
Marley Flooring
Benefit
Marley Flooring provides a smooth, slip-resistant surface with just the right amount of slip for various dance styles. It’s easy on the joints and allows for fluid movements.
Price Range
Marley Flooring ranges from $2 to $7 (USD) per square foot.
Harlequin Flooring
Benefit
Harlequin Flooring is known for its professional quality, providing excellent slip resistance, durability, comfort, and versatility suitable for various dance styles.
Price Range
Harlequin Flooring ranges from $5 to $10 (USD) or more per square foot.
SPRUNG FLOORING
Benefit
Sprung Flooring provides exceptional shock absorption, stability, and durability, making it an ideal choice for serious dancers.
Price Range
Sprung Flooring is on the more expensive end, ranging from $10 to $20 (USD) per square foot.
HARDWOOD FLOORING
Benefit
Hardwood Flooring provides a classic look and works well for many dance styles. It’s both enduring and aesthetically appealing, great for home dance studios wanting a stylish look.
Price Range
Hardwood Flooring ranges from $3 to $15 (USD) or more per square foot.
INTERLOCKING DANCE TILES
Benefit
Interlocking Dance Tiles are versatile and easy to install and provide a durable and cushioned dance surface.
Price Range
Interlocking Dance Tiles ranges from $2 to $5 (USD) per square foot.
PORTABLE DANCE FLOORING
Benefit
Portable Dance Flooring offers portability, versatility, and affordability (great for shared spaces, where it can be rolled up and stored away.
Portable Dance Flooring is available in both the traditional Harlequin and Marley vinyl surfaces.
Price Range
Portable Dance Flooring ranges from $100 to $500 (USD) or more, depending on the size.
STEP 4 – CHOOSE YOUR MIRROR
When shopping for mirrors, there are countless options available across multiple price ranges. If you’re on a budget, don’t hesitate to explore second-hand furniture stores.
You might find a hidden gem at a fraction of the price.
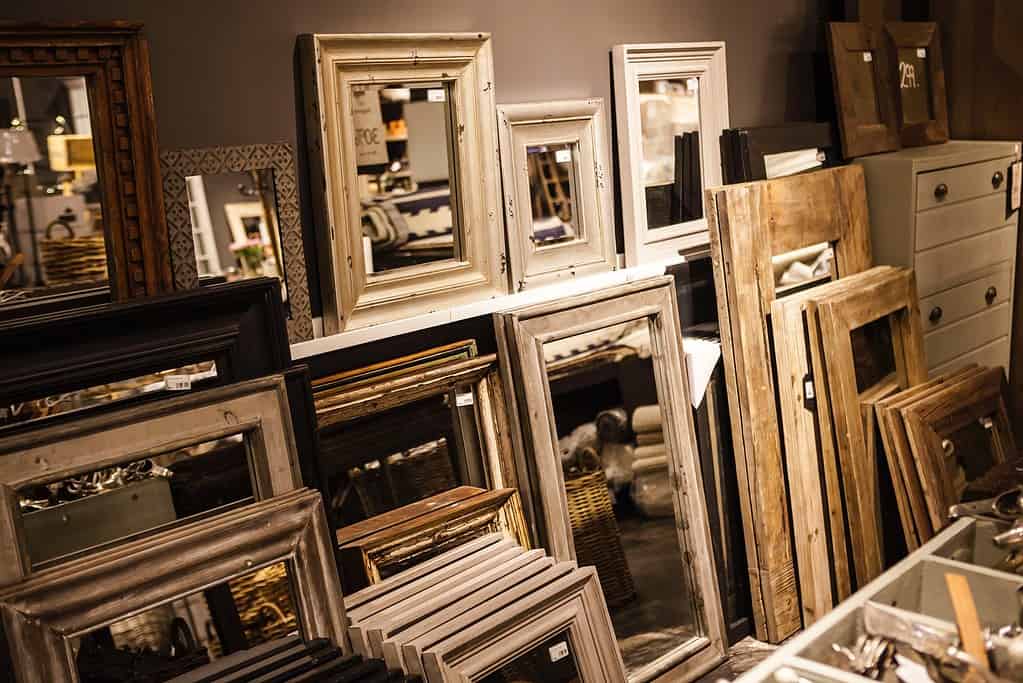
MIRROR SIZE AND PLACEMENT
The mirror’s size will be determined by your home dance studio wall space and layout.
For me, the ideal placement was on a large wall, where I could see my entire body in the mirror (not just my feet).
MIRROR QUALITY
Choosing the cheapest mirror isn’t always the best option.
Low-quality mirrors can hinder your ability to correct your form if the image is blurred or distorted.
If you’re on a tight budget, consider opting for a slightly smaller mirror of better quality. Even stick-on wall mirrors can offer a cost-effective yet good-quality alternative.
INSTALLATION
Can you install the mirror yourself, or do you need professional assistance?
From a budget perspective, mounting or assembling a mirror should be fairly straightforward (give it a go, you might surprise yourself).
If you get stuck, there are plenty of high-quality YouTube videos out there on this topic.
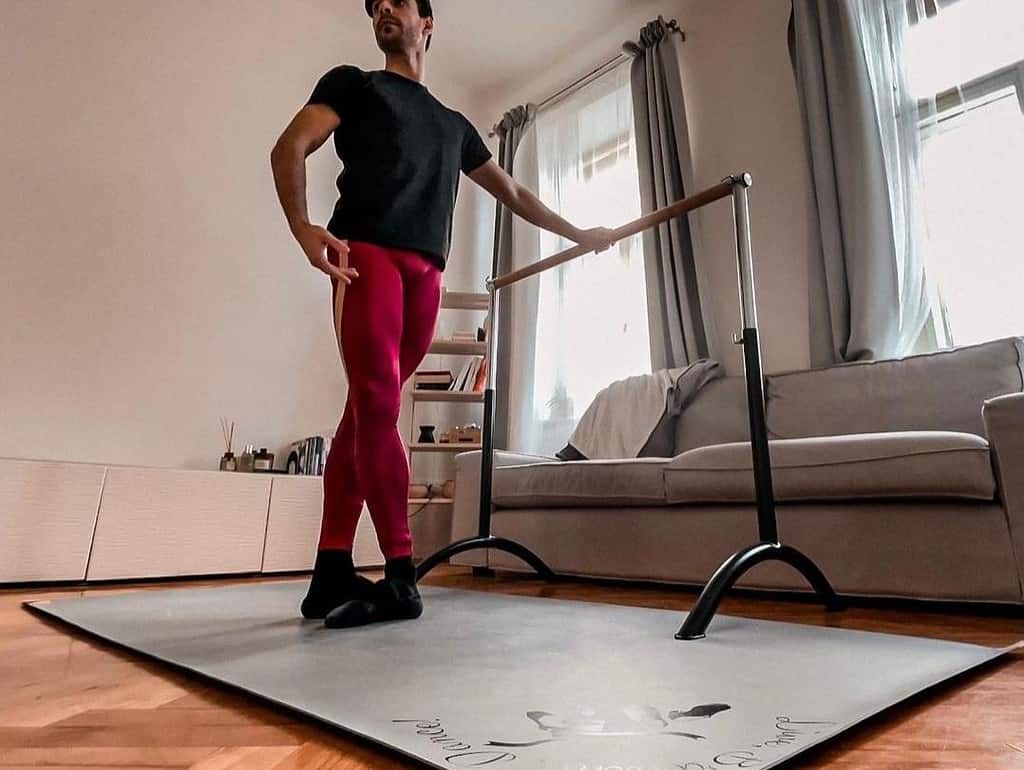
STEP 5 – CHOOSE YOUR BALLET BARRE
TYPE OF BALLET BARRE
Your choice of home ballet barre comes down to two options; wall-mounted or freestanding.
Are you looking for the stability that a wall barre provides, or do you prefer the flexibility to move the barre around the room, particularly if you’re using a shared space?
In my opinion, both options are excellent choices.
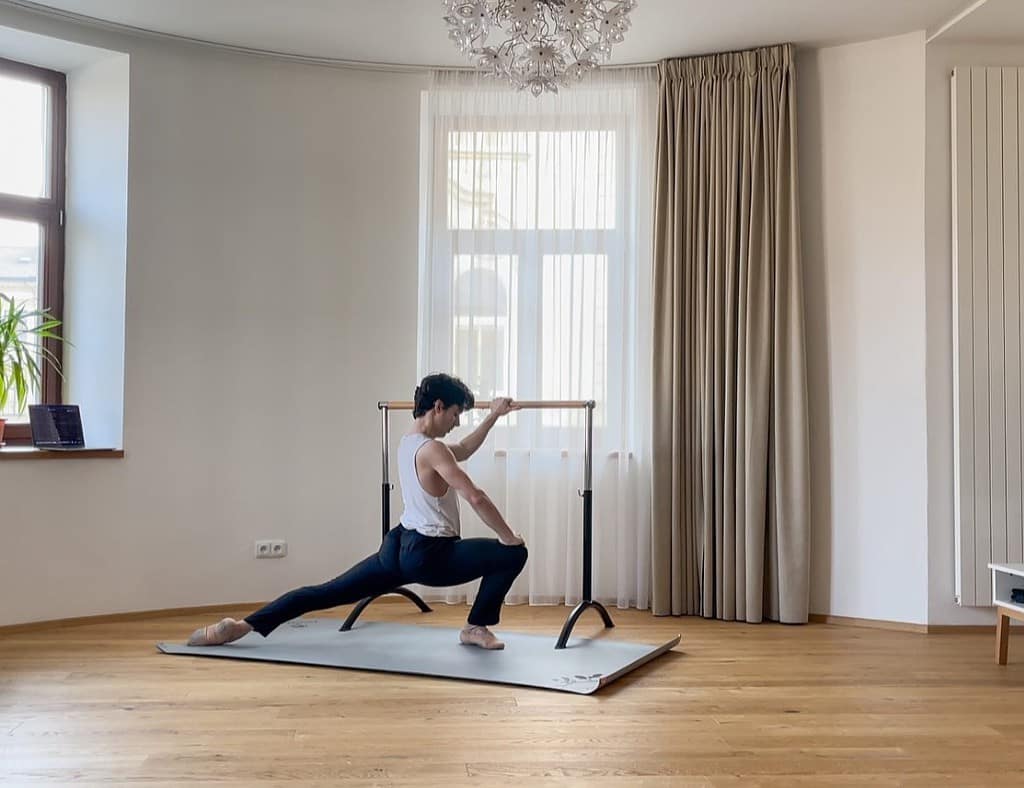
Also, don’t rule out a DIY adventure. If you have a handyman or woman in the family, save some money and get them to craft a custom barre for you.
BARRE DIMENSIONS
Length
Ideally, you should aim for a barre that enables you to perform comfortably without concerns about reaching the end of the barre (5ft/1.5m is plenty if your space allows it).
Height
For wall-mounted barres, ensure it’s at the correct height before fixing it (ideally, aim for something just above waist height).
Diameter
The recommended diameter is between 1 – 2 inches. So if you´re thinking about using your household broomstick, put it back and leave it for the housework.
BARRE MATERIALS
Whether you opt for a standard wooden barre or one made from stainless steel, is once more, a matter of personal preference and budget.
Regardless of your choice, be sure to adhere to hygiene and cleaning instructions; don’t forget, your hands can get sweaty too.
If you’re making your own from wood, give it a good sand, and add a few coats of varnish, or consider using a PVC pipe.
INSTALLATION
If you’re mounting a barre on a wall, ensure that your wall can support its weight, and make sure you have the required tools and screws for a secure installation.
If it’s a freestanding barre, once it’s set up, there’s no need to disassemble.
Always follow the instructions diligently – the last thing you want is the barre falling and landing on your toes.
STEP 6 – CHOOSE YOUR SOUND SYSTEM
While it’s often said that dancers create their music, having a sound system can certainly be a great addition to your home dance studio.
When it comes to a sound system, even something as basic as a small Bluetooth speaker (ie. UE Boom) can be sufficient.
You don’t necessarily require the latest high-tech setup.
STEP 7 – ADD YOUR FINISHING TOUCHES
The last step is to personalise your space with a few design touches.
PERSONALISATION
A touch of paint, some dance posters, your favourite photos, or even pictures of your favourite dancers can work wonders.
Why not add that extra special touch with some inspiring or motivational quotes on the walls?
It’s your space, so let your creativity flow, and don’t hold back.
EQUIPMENT AND STORAGE
If you plan to use your home dance studio for more than just dance practice, having a small storage unit is a great idea to keep your space clutter-free and store your equipment.
If you have the room, your home dance studio can serve multiple purposes – consider adding an exercise bike or gym equipment, but this is entirely optional.
Don’t forget that a home dance studio can be as simple as a piece of flooring, a barre, and a mirror.
TOP 3 BENEFITS OF A HOME DANCE STUDIO
CONVENIENCE
Have you ever experienced the frustration of missing your train and being unable to make it to dance class?
With a home dance studio, you have the freedom to practise at your convenience, whether it’s early in the morning or late at night, when you’re in the mood, or have a gap in your schedule.
Knowing that you have a suitable space eliminates the need to commute to a dance studio, which saves you both time and money.
PRIVACY AND FOCUS
A home dance studio gives you a private space, shielded from unwanted eyes, and the freedom to practise independently.
Having a private space allows you to focus on areas for improvement, at your own pace and without the pressure of the clock ticking by.
This focus gives you the freedom to work smart and that extra confidence when you return to class.
FASTER DANCE IMPROVEMENTS
Having a home dance studio can support faster improvement and progress, you can use it to practise anytime of the day.
Beyond dance practice, a home studio can also serve as a space for stretching, Pilates, conditioning training, and even creating choreography.
PERFECT HOME DANCE STUDIO FAQs
WHAT IS THE MINIMUM SIZE OF A HOME DANCE STUDIO?
There are no strict rules regarding the minimum size of a home dance studio.
Of course, a room the size of Harry Potter’s closet is probably not big enough.
Your space should be tailored to your specific needs and requirements.
HOW MUCH DOES A HOME DANCE STUDIO COST?
Home dance studios can range from a few hundred dollars to thousands, so choose what suits your needs and budget best.
The cost depends on how much you’re willing to invest in your home dance studio.
If you have a generous budget, I recommend investing in proper flooring suitable for your dance style, a large wall mirror, and a supportive barre.
To take it a step further, you can consider adding a TV for watching YouTube videos or dance performances.
However, a home studio can be as simple and budget-friendly as a portable piece of flooring, a standard ballet barre, and an IKEA stick-on mirror.
WRAP UP
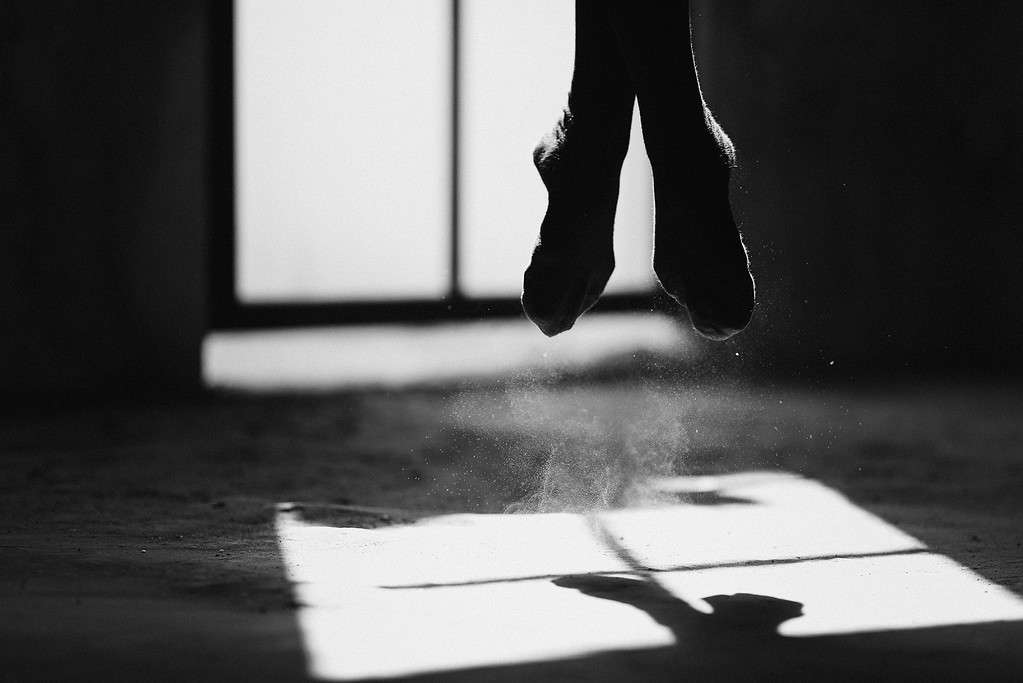
During my training as a dancer, I was lucky enough to have my very own home dance studio.
Layed with vinyl flooring, a hand-made ballet barre (thanks to my Pop), a large second-hand mirror, and a few pieces of art. Our old spare bedroom became my sanctuary, and I made the most of it by dancing in there every single day!
Whether you decide on a budget-friendly or more elaborate setup, the goal is the same.
Create a space that helps you achieve your goals and pushes you one step further to reaching your full potential as a dancer.